The Mold Remediation Process: Step-By-Step Guide from a Mold Company

WHAT DOES MOLD REMEDIATION EVEN MEAN? HERE'S WHAT A MOLD CONTRACTOR DOES IN YOUR HOME:
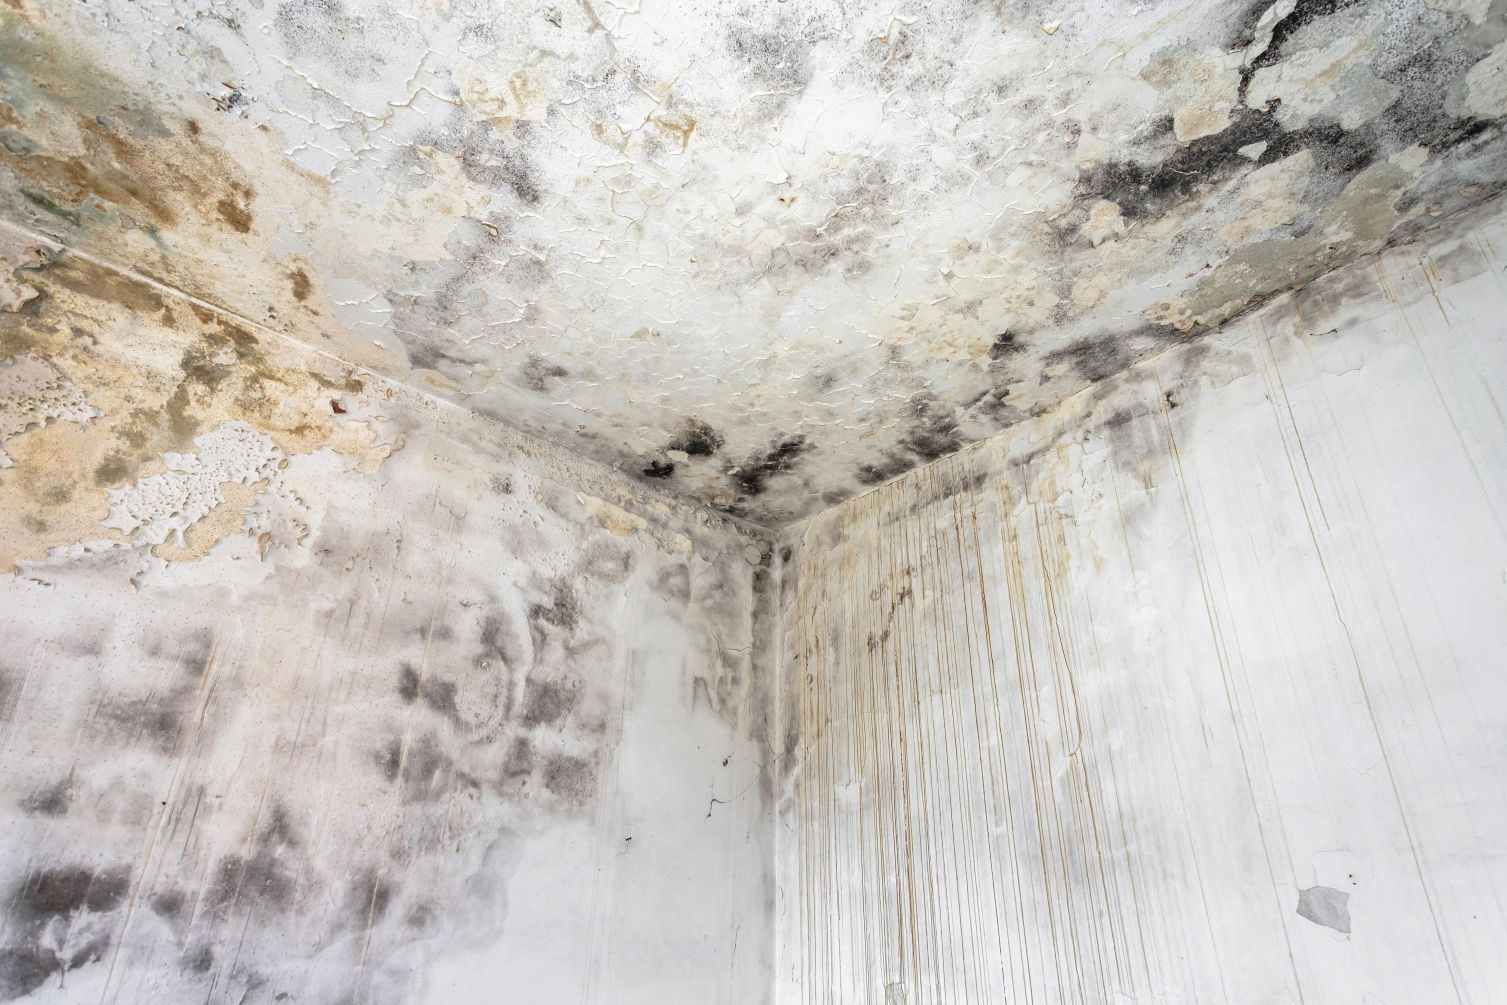
Mold can be a silent intruder in your home, often hidden behind walls, under floors, or in damp corners. When you discover mold, it's crucial to address it promptly to protect your health and your property. Mold remediation is the process of safely and effectively removing mold from your home. In this guide, we'll walk you through the step-by-step process of mold remediation.
STEP 1: INITIAL ASSESSMENT
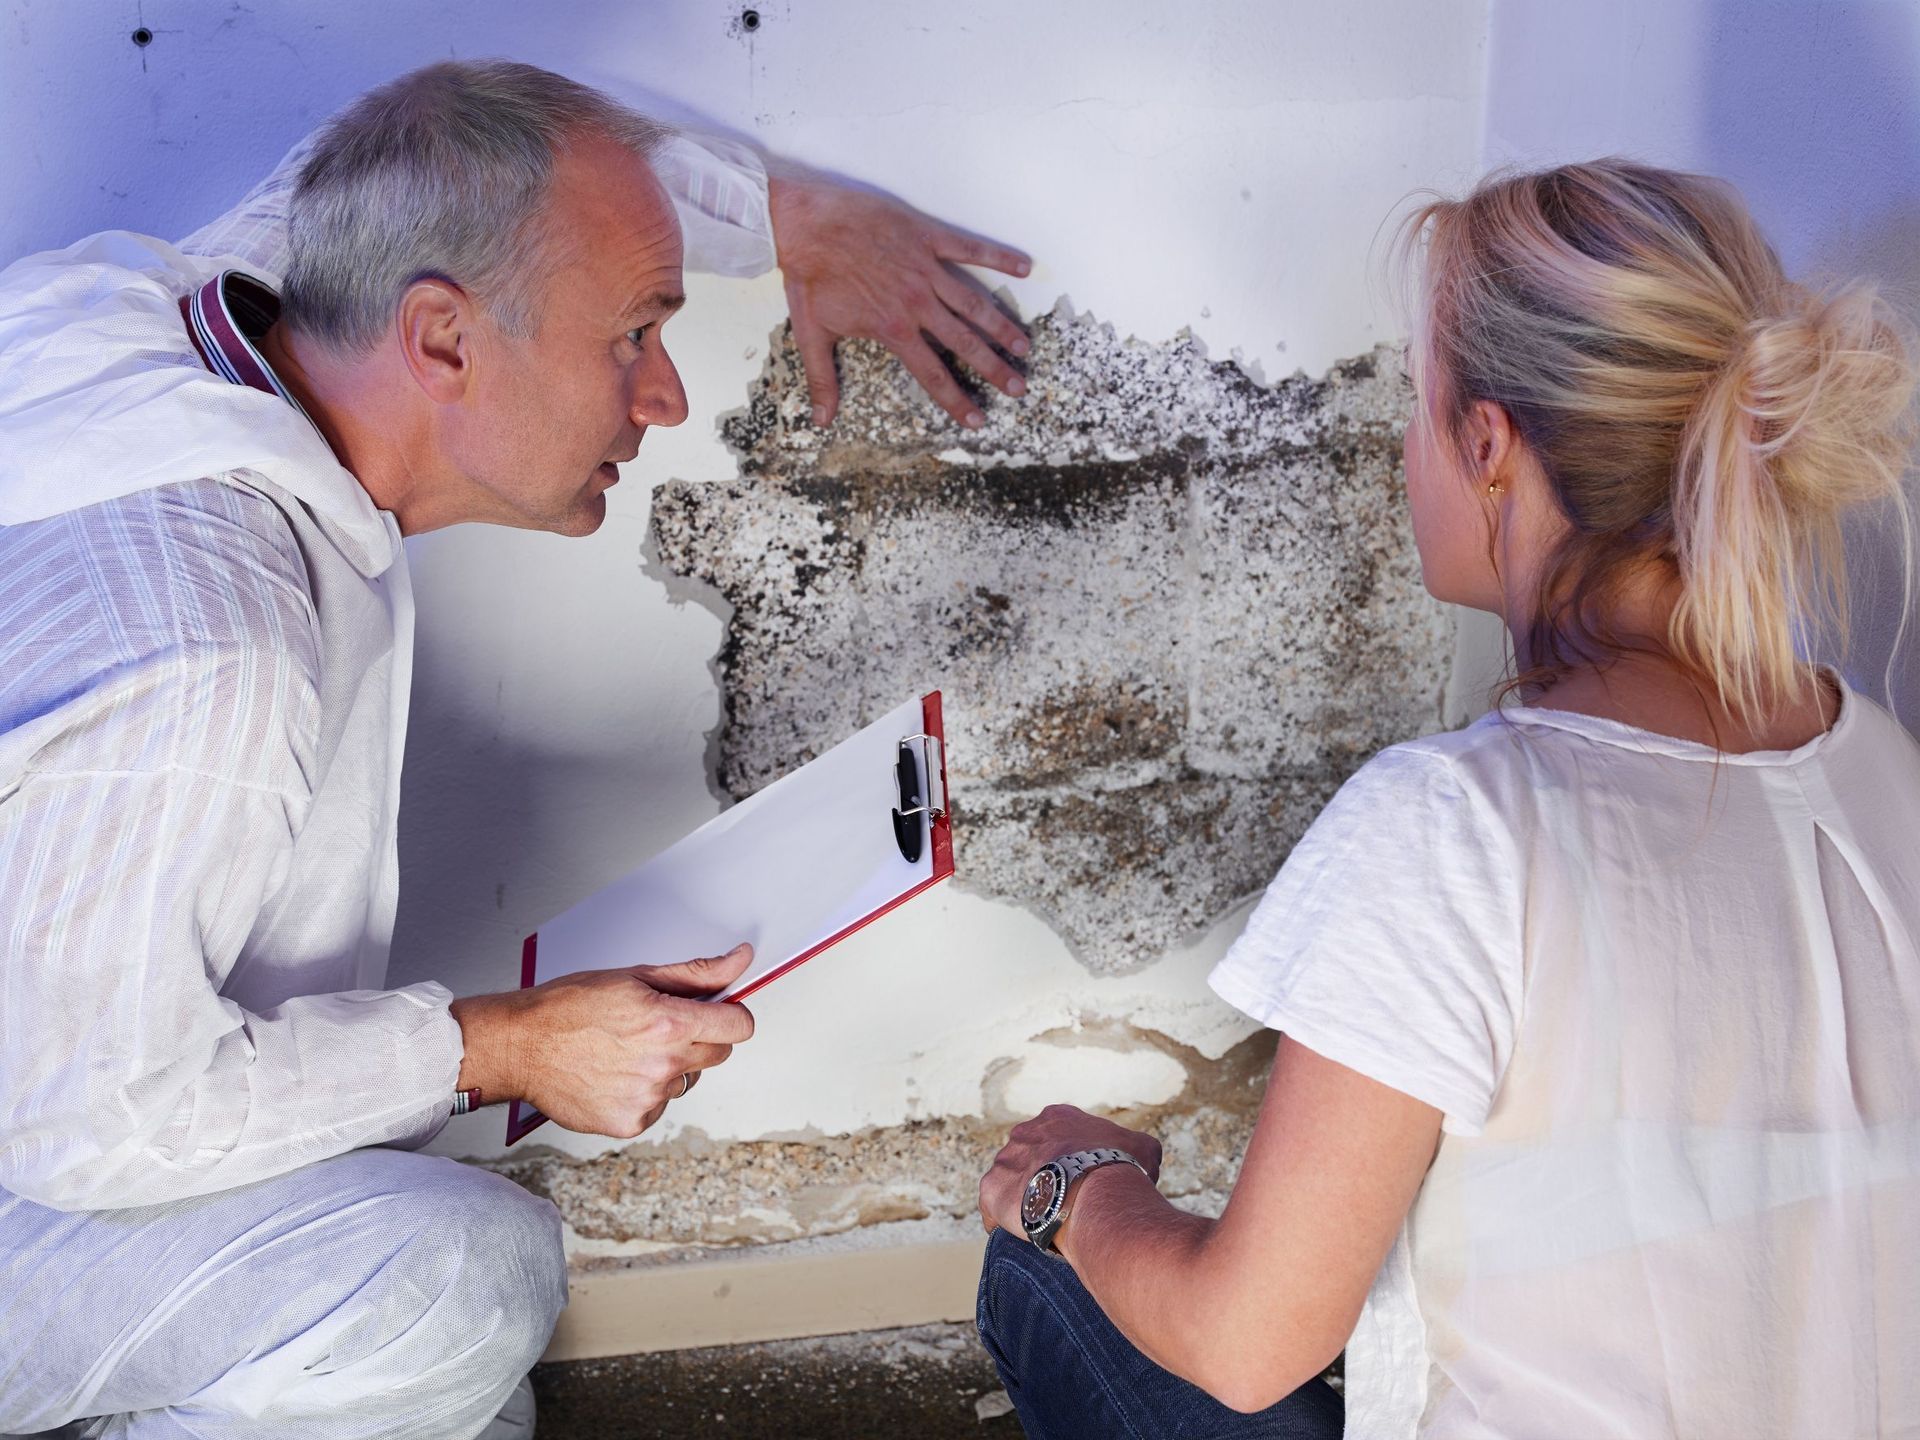
The first step in mold remediation is to conduct an initial assessment. A certified mold inspector will examine your property to identify the extent of the mold problem. They'll take air samples and surface samples to determine the type of mold present and its concentration. This assessment is crucial for developing a remediation plan.
STEP 2: CONTAINMENT
To prevent the spread of mold spores during the removal process, containment is essential. Remediation experts set up containment barriers, often using plastic sheeting and negative air pressure systems. This isolation ensures that mold spores are not released into unaffected areas of your home.
STEP 3: PERSONAL PROTECTIVE EQUIPMENT (PPE)
Remediation professionals wear appropriate personal protective equipment, including masks, gloves, and suits, to protect themselves from exposure to mold. Safety is a top priority during the entire process.
STEP 4: MOLD REMOVAL
The actual removal of mold begins with the thorough cleaning of contaminated surfaces. Depending on the severity of the mold infestation, various methods, such as scrubbing, HEPA vacuuming, and even removing and replacing materials like drywall, may be used.
Step 5: HEPA Filtration
High-efficiency particulate air (HEPA) filtration systems are used to capture airborne mold spores. These filters ensure that the air in the contained area remains clean during the remediation process.
STEP 6: DISPOSAL
Mold-infested materials are carefully bagged and sealed for safe disposal. Professionals follow strict guidelines to prevent cross-contamination and ensure that the mold does not spread further.
STEP 7: CLEANING AND DISINFECTION
Once the mold is removed, affected surfaces are thoroughly cleaned and disinfected to prevent any residual mold from regrowing. This step helps ensure a mold-free environment.
STEP 8: POST-REMEDIATION ASSESSMENT
After the removal and cleaning, a post-remediation assessment is performed to confirm that mold levels are within acceptable limits. This step provides peace of mind that the remediation was successful.
STEP 9: PREVENTATIVE MEASURES
To prevent future mold growth, it's crucial to address the root cause of the issue, whether it's a leak, poor ventilation, or excessive humidity. Remediation professionals may offer recommendations for preventing mold recurrence.
STEP 10: RECONSTRUCTION
If the mold damage was extensive and required the removal of building materials, the final step involves reconstruction. This may include replacing drywall, insulation, or flooring to restore your home to its pre-mold condition.
STEP 11: ONGOING MONITORING
Even after remediation is complete, it's advisable to periodically monitor your home for signs of mold. Routine inspections and maintenance can help catch any issues early and prevent major infestations from developing.
Mold remediation is a meticulous process that requires expertise and attention to detail. It's essential to hire certified professionals who follow industry standards to ensure the safe and effective removal of mold from your home. Remember, the key to successful mold remediation is early detection and prompt action to protect your health and your property.
Share this Post
Read More Posts